Professional House Painting Tips: Transforming Your Home with Quality Interior and Exterior Advice - Painting your home is a powerful way to refresh its appearance, protect surfaces, and increase its value. Whether you plan to renew the interior ambiance or update the exterior look, following clear, proven methods can make all the difference. In this article, we share professional house painting tips that cover both house painting tips interior and house painting tips exterior. These guidelines will help you prepare properly, apply paint evenly, and enjoy long-lasting results.
Read also: Is Summer The Right Time to Paint Your Home's Interior?
1. The Value of Professional House Painting Tips
A successful painting project goes far beyond simply applying a new color. Incorporating professional house painting tips into your process enhances the durability, appearance, and overall longevity of the finish. Consider the following points:
Enhanced Protection:
A quality paint job protects your walls and surfaces against weather, moisture, and everyday wear.
It acts as a barrier, helping to maintain the structural integrity of your home.
Increased Home Value:
A freshly painted home can boost your property’s appeal and market value.
Whether you plan to sell or simply enjoy your living space, a high-quality finish leaves a lasting impression.
Improved Aesthetic Appeal:
Well-applied paint can transform your interior and exterior spaces into inviting and harmonious areas.
Consistent color schemes and textures contribute to an overall polished look.
Long-Term Durability:
Proper techniques ensure that your painting project stands up to environmental challenges and everyday use.
Investing time in preparation and careful application pays off with a finish that lasts for years.
2. Planning and Preparation
Before picking up a brush, thorough planning and preparation are essential. Here are the key steps to set you up for success:
Assessing Surfaces:
Examine every area you plan to paint, both inside and out.
Look for cracks, peeling paint, and signs of moisture damage.
Repair defects by patching holes, sanding rough spots, and filling in cracks to create a uniform base.
Gathering Materials and Tools:
Collect all necessary supplies such as high-quality brushes, rollers, painter’s tape, and drop cloths.
Choose the correct type of paint for your specific project—select durable formulations for interiors and weather-resistant types for exteriors.
Cleaning the Surfaces:
For interiors, use a mild detergent to remove dust, grease, and grime from walls, trim, and baseboards.
For exteriors, consider power washing or scrubbing with a stiff brush and cleaning solution to remove dirt, mildew, and loose paint.
A clean surface ensures better adhesion and a more consistent finish.
Preparing the Work Area:
Protect furniture, floors, and fixtures by using drop cloths and painter’s tape on adjacent surfaces.
Organize your workspace to minimize mess and make cleanup easier once the project is complete.
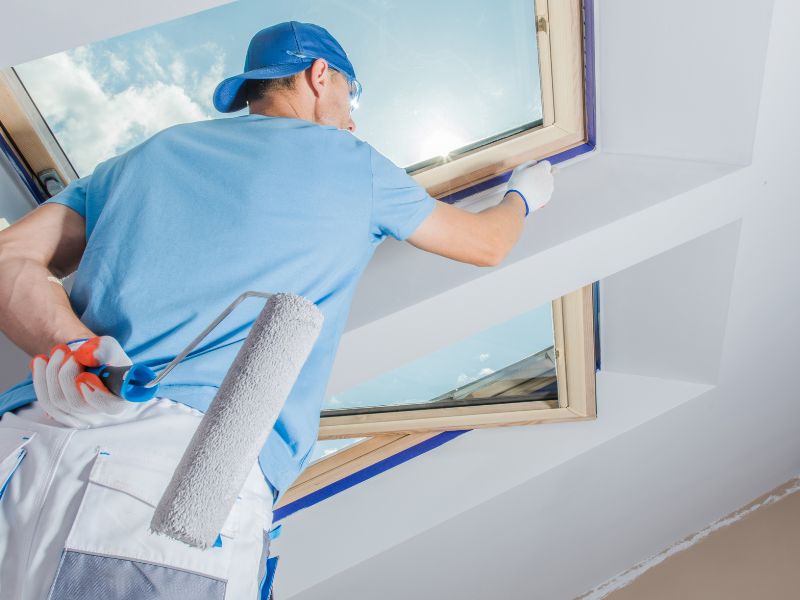
3. House Painting Tips Interior
Refreshing the interior of your home requires careful attention to detail to achieve a smooth, even finish. Use these house painting tips interior to guide your work:
Detailed Preparation and Priming:
After cleaning, lightly sand any rough areas to create a smooth surface.
Apply a quality primer, especially if you are covering a darker color or masking stains.
Priming improves paint adhesion and establishes a consistent base for the topcoat.
Choosing the Right Tools:
Use a roller for large, flat surfaces to ensure efficient coverage.
Select a high-quality brush for edges, corners, and detailed work.
The right tools help maintain a uniform appearance and reduce brush marks.
Applying the Paint:
Work in small sections and maintain a “wet edge” to blend each area seamlessly.
Begin at the top of the wall and work downward to minimize drips and streaks.
A methodical approach results in an even and polished finish.
Color and Finish Selection:
Choose colors that complement your room’s purpose and overall design.
For high-traffic areas like kitchens and bathrooms, consider finishes such as satin or semi-gloss for their durability and ease of cleaning.
In living areas, a matte finish can create a soft, inviting atmosphere.
Final Touches:
Once the paint dries, carefully remove painter’s tape to reveal crisp, clean lines.
Inspect for any missed spots or uneven areas and perform necessary touch-ups.
Attention to these details ensures a flawless and inviting interior space.
Read also: Create an Unforgettable Stay with These Guest Room Paint Colors
4. House Painting Tips Exterior

Exterior painting projects involve additional challenges due to environmental exposure. Follow these house painting tips exterior to achieve a durable, attractive finish:
Inspection and Repairs:
Thoroughly inspect your home’s exterior for peeling paint, cracks, or other signs of damage.
Repair any imperfections to provide a stable base for the new paint.
Addressing these issues beforehand prevents future deterioration.
Considering Weather and Timing:
Choose a time when the weather is dry and mild to ensure optimal drying and curing conditions.
Avoid extreme heat, heavy humidity, or rainy days, which can affect the paint’s performance.
Proper timing is crucial to achieving a long-lasting finish.
Cleaning and Preparing Outdoor Surfaces:
Use a pressure washer or a stiff brush with a cleaning solution to remove dirt, dust, and mildew.
Allow the surfaces to dry completely before painting.
A thoroughly cleaned surface improves paint adhesion and longevity.
Priming for Outdoor Use:
Apply a primer that is specifically designed for exterior surfaces.
This step seals the surface, enhances adhesion, and provides a uniform base for the topcoat.
Outdoor primer also helps protect the underlying material from moisture and weather damage.
Application Techniques:
Use high-quality brushes and rollers suited for exterior applications.
Work in small sections, maintaining a wet edge to avoid lap marks.
For hard-to-reach areas, use extension poles or specialized tools to ensure safety and efficiency.
Ongoing Maintenance:
After the exterior paint has fully cured, schedule periodic inspections to check for wear or damage.
Perform timely touch-ups to address any issues before they escalate.
Regular maintenance preserves the fresh look and protective qualities of your exterior paint.
5. DIY Versus Hiring a Professional
Deciding whether to tackle a painting project on your own or hire a service can be challenging. Consider these points to make the best choice:
Assessing Your Skill Level:
Evaluate your comfort with handling tools, materials, and the detailed work required.
DIY projects can be rewarding and cost-effective if you have the necessary skills.
For larger or more complex tasks, professional services may offer greater consistency and efficiency.
Project Scope and Complexity:
Determine the extent of the repairs and the height or accessibility of the surfaces.
Extensive exterior work or high-detail interiors might be better managed by professionals.
A combined approach can work well; for instance, handle simpler interior projects yourself and delegate challenging exterior tasks.
Time and Resource Considerations:
DIY projects often require a significant time commitment from start to finish.
Hiring professionals can free up your time and typically comes with warranties or guarantees.
Consider the value of your time and the potential long-term benefits of a professional finish.